[Flutter]SQLite
2022. 3. 7. 18:58ㆍFlutter
반응형
- 의존성 추가
- 데이터 모델 정의
- 데이터베이스 열기
- 테이블 생성
- CRUD
- 리스트 만들기
의존성 추가
pubspec.yaml 에 들어가서, dependencies에 아래 내용 추가
dependencies:
  flutter:
    sdk: flutter


  # The following adds the Cupertino Icons font to your application.
  # Use with the CupertinoIcons class for iOS style icons.
  cupertino_icons: ^1.0.2

  #GetX
  get: ^4.6.1

  #sqlite 추가
  sqflite:
  path:
데이터 모델 정의
class Post {
  final int id;
  final String title;
  final String sub;

  Post({required this.id, required this.title, required this.sub});

  Map<String, dynamic> toMap() {
    return {
      'id': id,
      'title': title,
      'sub': sub,
    };
  }
}
클래스 구성요소 및 변수들을 하나로 묶어 관리 할 수 있게 Map로 변환하는 메소드 생성.
그리고 데이터 베이스의 관리를 위한 Helper 클래스를 하나 생성
class DBHelper {
  var database;

  DBHelper() {
    //initDB();
  }

  Future<int> initDB() async {
    database = await openDatabase(
      join(await getDatabasesPath(), 'post.db'),
      onCreate: (db, version) {
        return db.execute("""
            CREATE TABLE post(
            id INTEGER PRIMARY KEY AUTOINCREMENT,
            title TEXT,
            sub TEXT
            )
          """);
      },
      version: 1,
    );
    return 1;
  }

  //create
  Future<void> insertPost(String title, String sub) async {
    final db = await database;

    await db.rawQuery('INSERT INTO post(title,sub) VALUES(?,?)', [title, sub]);
  }

  //list
  Future<List<Post>> posts() async {
    final db = await database;

    final List<Map<String, dynamic>> maps = await db.query('post');

    return List.generate(
      maps.length,
      (index) => Post(
          id: maps[index]['id'],
          title: maps[index]['title'],
          sub: maps[index]['sub']),
    );
  }

  //update
  Future<void> updatePost(Post post) async {
    final db = await database;

    await db.update(
      'post',
      post.toMap(),
      where: 'id = ?',
      whereArgs: [post.id],
    );
  }


  //delete
  Future<void> deletePost(int id) async {
    final db = await database;

    await db.delete(
      'post',
      where: 'id=?',
      whereArgs: [id],
    );
  }
}
initDB의 경우, 데이터 베이스의 경로를 받아와서, 존재하면, open 존재하지 않으면 테이블을 생성하게 되는데, 이를 통해 찾아온 데이터 베이스를 전역변수 database에 넣어둔 후 사용
테이블 생성
Future<int> initDB() async {
    database = await openDatabase(
      join(await getDatabasesPath(), 'post.db'),
      onCreate: (db, version) {
        return db.execute("""
            CREATE TABLE post(
            id INTEGER PRIMARY KEY AUTOINCREMENT,
            title TEXT,
            sub TEXT
            )
          """);
      },
      version: 1,
    );
    return 1;
  }
메소드의 완료 후 작업을 이용하기 위해 리턴 값을 사용하였슴.
INSERT
//create
  Future<void> insertPost(String title, String sub) async {
    final db = await database;

    await db.rawQuery('INSERT INTO post(title,sub) VALUES(?,?)', [title, sub]);
  }
?값은 앞쪽부터 순서대로 뒤에 배열값의 순서가 들어감.
SELECT
 //list
  Future<List<Post>> posts() async {
    final db = await database;

    final List<Map<String, dynamic>> maps = await db.query('post');

    return List.generate(
      maps.length,
      (index) => Post(
          id: maps[index]['id'],
          title: maps[index]['title'],
          sub: maps[index]['sub']),
    );
  }
테이블의 전체 목록을 가져옴
db.query('TABLE_NAME')의 결과 값은
SELECT * FROM TABLE_NAME 의 결과 값
DELETE, UPDATE
//delete
Future<void> deletePost(int id) async {
  final db = await database;

  await db.delete(
    'post',
    post.toMap(),//UPDATE
    where: 'id=?',
    whereArgs: [id],
  );
}
id값의 내용을 업데이트 하거나 삭제 함, 업데이트의 경우, args 값은 위의 데이터 모델 정의에서 작성한 클래스를 사용하거나, 업데이트 하고자하는 값들만을 받아들여, toMap을 이용한 객체로 생성하여 사용.
리스트 만들기
late final _dbHelper = DBHelper();
  var _itemCnt;
  var _list;
리스트 설정을 위한 상태 변수
@override
  void initState() {
    // TODO: implement initState
    super.initState();
    updateUi();
  }

  void updateUi() async {
    _dbHelper.initDB().then((value) => {
          _dbHelper.posts().then((value) {
            setState(() {
              _itemCnt = value.length;
              _list = value;
            });
          })
        });
  }
데이터 베이스로 부터 리스트를 받아와 화면을 업데이트 하는 메소드
body: Center(
        child: Column(
          mainAxisAlignment: MainAxisAlignment.center,
          children: [
            Expanded(
              flex: 1,
              child: _list == null
                  ? const Center(
                      child: Container(),
                    )
                  : ListView.builder(
                      itemCount: _itemCnt,
                      itemBuilder: (BuildContext context, int index) {
                        Post item = _list[index];
                        return Item(
                          title: item.title,
                          sub: item.sub,
                          id: item.id,
                        );
                      },
                    ),
            ),
          ],
        ),
      ),
      floatingActionButton: FloatingActionButton(
        onPressed: () {
          _dbHelper.insertPost('title${_itemCnt+1}', '${_itemCnt+1}번째 아이템');
          updateUi();
        },
        child: const Icon(Icons.add),
      ),
가져온 리스트를 활용하여 목록 만들기
및 플로팅 버튼 활용하여 목록 생성하기,
  var _dbHelper = DBHelper();

  @override
  Widget build(BuildContext context) {
    return Scaffold(
      body: Center(
        child: Column(
          mainAxisAlignment: MainAxisAlignment.center,
          children: [
            Text(
              '제목 : ${widget.title}',
              style: TextStyle(fontSize: 20),
            ),
            Text(
              '설명 : ${widget.sub}',
              style: TextStyle(fontSize: 20),
            ),
            OutlinedButton(onPressed: () {
              _dbHelper.deletePost(widget.id);
              Get.off(const MyHomePage(title: 'Flutter Demo Home Page'));
            }, child: const Text('삭제')),
          ],
        ),
      ),
    );
  }

  @override
  void initState() {
    // TODO: implement initState
    super.initState();
    setDb();
  }
  void setDb() async{
    _dbHelper.initDB().then((value) => null);
  }
자세히 보기 페이지에서 삭제버튼을 활용하여 목록 삭제하기
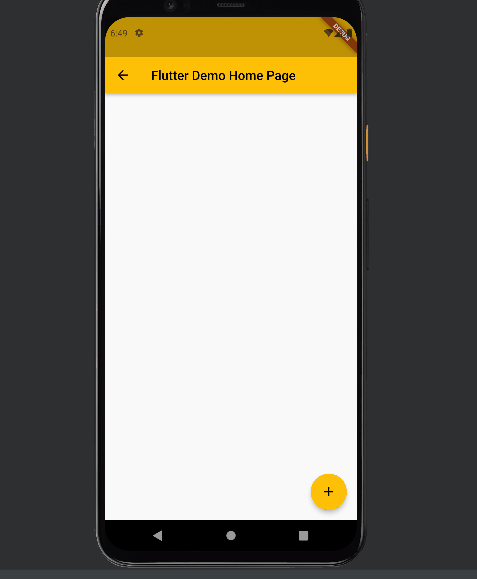
결과물
'Flutter' 카테고리의 다른 글
| [Flutter]채팅 화면 구성 (0) | 2023.01.31 |
|---|---|
| <Flutter>항목 자동 생성 (0) | 2023.01.30 |
| [Flutter]GetX를 이용한 화면 전환 (0) | 2022.02.28 |
| Flutter 세팅 - window (0) | 2022.02.21 |